ShortVi Beta
Return to Topic List

Frustrated with color grading in DaVinci Resolve - skin tones look greenish no matter what

Video Editing & Software Created: 23.07.2026 19:06 14 Views


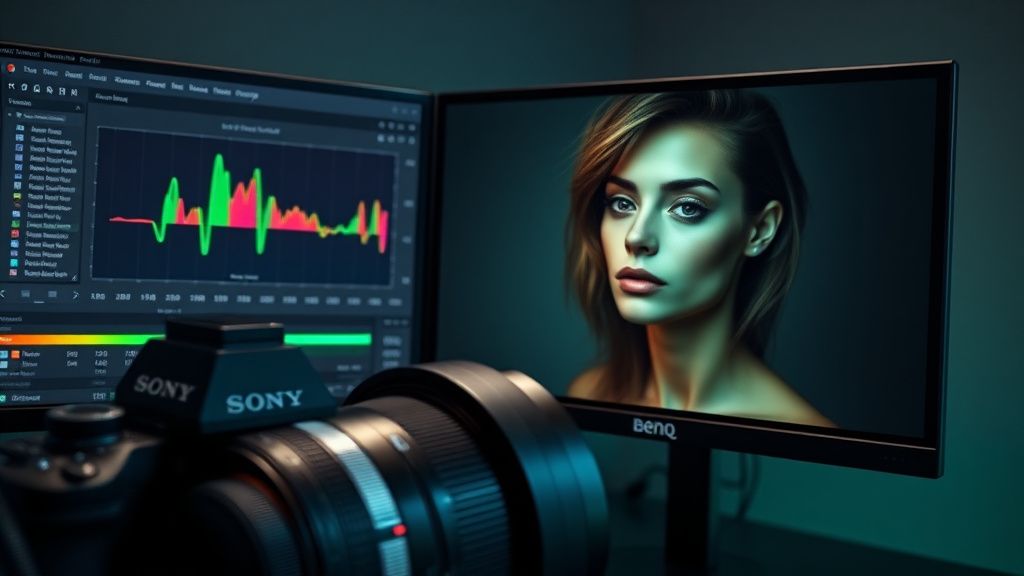
DaVinci Resolve color grading interface with vectorscope showing greenish skin tone on a Sony A7IV footage

DaVinci Resolve color grading interface with vectorscope showing greenish skin tone on a Sony A7IV footage
Zoom


Hey everyone, I've been editing for about a year now and recently switched from Premiere Pro to DaVinci Resolve (Studio version 18.6) because of the superior color tools. But I'm hitting a wall with skin tones. Every time I try to grade a talking head shot, the skin looks slightly green or sickly, especially in the midtones. I've tried using the color wheels, the curves, and even the Color Warper, but I can't seem to get that natural, healthy look I see in professional videos.

I shoot with a Sony A7IV in S-Log3, and I'm using a calibrated monitor (BenQ PD2725U). My workflow: I apply a CST from S-Log3/S-Gamut3.Cine to Rec.709, then I try to adjust the skin tone line on the vectorscope. But even when I align it perfectly, the face still has a green cast in the shadows. Is there a specific node structure or a tool I'm missing? I've watched a ton of tutorials, but they all seem to skip over this exact issue. Any help would be massively appreciated!

Replies (3)


videopro31 yazdı:

But even when I align it perfectly, the face still has a green cast in the shadows.


Hey! This is a super common issue with S-Log3 on Sony cameras, especially in mixed lighting. The green cast in shadows is often due to the sensor's color science under tungsten or LED light. Here's my tested workflow that fixed it for me:

1. **Node structure**: Use 3 serial nodes. Node 1: Primary correction (exposure and white balance). Node 2: CST from S-Log3/S-Gamut3.Cine to Rec.709 Gamma 2.4. Node 3: Secondary color for skin tones only.

2. **In Node 3**, use a Qualifier (HSL) to select just the skin tones. Then, in the Color Warper, pull the midtone skin tone line slightly toward the yellow/magenta axis (about 5-10 degrees). That neutralizes the green without affecting the whole image.

3. **For shadows specifically**, add a parallel node after the CST. Use a Luma keyer to select shadow areas (0-30 IRE). Then, in the Offset wheel, push a tiny bit of magenta (+0.02 to +0.05) to cancel the green. Be subtle!

Also, check your monitor profile. Sometimes the BenQ's Rec.709 mode adds a slight green tint itself. Try switching to sRGB for a second to see if it's the display. Let me know if that helps!
Keep rendering, keep uploading.


focushub54 yazdı:

Use a Luma keyer to select shadow areas (0-30 IRE). Then, in the Offset wheel, push a tiny bit of magenta (+0.02 to +0.05) to cancel the green.


That did it! The Luma keyer trick on the shadows was the missing piece. I was trying to fix everything on the same node, which was messing up the skin tones in the highlights. I also recalibrated my BenQ with a SpyderX and found it was slightly off in the green channel out of the box. Thank you so much, focushub54! Problem solved. My skin tones look natural now, and I can finally move on to the rest of the edit. Appreciate the detailed help!
TikTok growth is all about the first 3 seconds hook.
Late to this thread but just wanted to add something that saved me after fighting the same S-Log3 green cast for months: check your CST input gamma settings if you're shooting in S-Cinetone vs S-Log3. If you're mixing footage from different picture profiles on the same timeline, the "S-Gamut3.Cine/S-Log3" input is fine, but for S-Cinetone you actually want to use "S-Gamut3.Cine/S-Cinetone" in the CST. A lot of people (including me) mistakenly apply the S-Log3 CST to everything and that alone can leave a subtle green in the shadow regions on the Cinetone clips.

Also, since you mentioned the SpyderX calibration—have you tried the 3D LUT from Sony's official "S-Log3 to Rec.709" for the a7S III? It's a bit punchier than the CST default but handles those shadow transitions way better in mixed lighting. I keep it as a saved preset in Resolve for quick reference when I'm in a hurry, then go back and fine-tune with the node structure you guys described. Glad the Luma keyer trick worked for you—that's honestly one of the most underrated tools in the whole program.
Shorts and Reels creator | DaVinci Resolve fan!

You must register or log in to reply to this topic.

Related Topics & Similar Discussions

Why is my 4K export in DaVinci Resolve 18.6 stuttering on a high-end PC? Category: Video Editing & Software
Best way to sync multi-cam audio in DaVinci Resolve 19? Category: Video Editing & Software
Best Way to Color Match Sony S-Log3 to Rec.709 in DaVinci Resolve? Category: Video Editing & Software