ShortVi Beta
Return to Topic List

How to effectively showcase before/after color grading in a portfolio?

Portfolio Showcase Created: 26.07.2026 11:03 11 Views


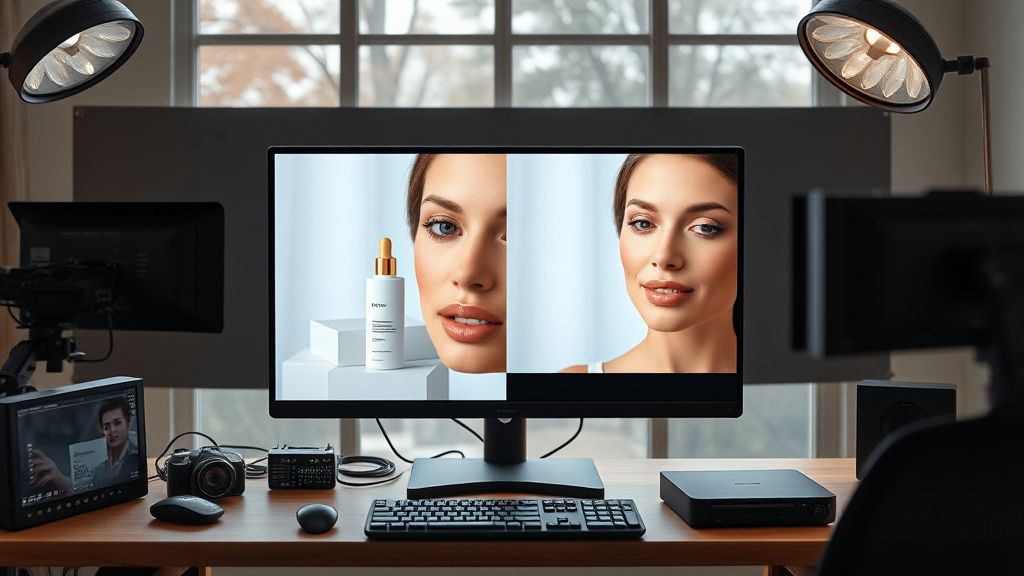
Color grading before and after comparison on a professional monitor in a studio

Color grading before and after comparison on a professional monitor in a studio
Zoom


Hey everyone! I've been building my color grading portfolio and I'm struggling with how to present before/after comparisons in a way that's both visually striking and technically informative. I've seen some creators use split-screen comparisons, but I feel like that can be distracting. I'm also considering using a slider overlay (like the ones you see on photography sites) but I'm not sure if that's standard for video portfolios.

I primarily work in DaVinci Resolve and export in 4K ProRes 422 HQ for my reel. My niche is cinematic commercial work (beauty products, lifestyle). I want potential clients to immediately see the impact of my grade without having to play a full video. Any thoughts on the best layout, resolution, or even platform (Vimeo vs. personal website) for this?

Replies (4)


I've seen some creators use split-screen comparisons, but I feel like that can be distracting.


I totally get that. Split-screen can be jarring if not done right. I've found that a horizontal wipe (slider) is actually the most effective for portfolios because it lets the viewer control the reveal. You can achieve this easily in Resolve by exporting a clean timeline with both grades side-by-side (left half ungraded, right half graded) and then using a simple HTML/CSS slider on your website. For Vimeo, you can upload a 4K video with the slider built in (using a soft edge transition) or use their "review page" feature with notes. I'd also recommend keeping the clips short—5-10 seconds max—and showing the same shot from multiple angles if possible. Clients love seeing consistency across different lighting conditions.
Always testing the YouTube algorithm.
I'll second the slider approach, but with a twist: don't just show a static slider. Use a short looping clip with a smooth wipe animation (like a 1-second transition from before to after). This works great on Instagram Reels or YouTube Shorts as a teaser. For your main portfolio site, I'd suggest using a 3840x2160 resolution with the left side being the ungraded source and the right side the final grade, then use a JavaScript library like [JuxtaposeJS](https://juxtapose.knightlab.com/)—it's free and super clean. One thing to watch out for: make sure your before clip isn't too crushed or flat. A log profile (like Sony S-Log3 or ARRI LogC) is fine, but if it's too green or noisy, clients might think that's your fault. Always use a properly exposed, neutral starting point. Also, consider adding a subtle watermark with your logo in the corner of the graded side—just enough to brand it.
TikTok growth is all about the first 3 seconds hook.
Wow, thanks for the detailed advice creatorengine77 and mediapro79! I went ahead and implemented the JuxtaposeJS slider on my personal site with 4K exports, and it looks incredible. I also created a few 15-second loops with a smooth wipe for my Instagram portfolio highlights. The feedback from a couple of test clients has been very positive—they specifically mentioned how easy it was to see the transformation without having to scrub through a video. I also took the tip about using properly exposed log footage and re-graded a few older projects. The portfolio feels much more professional now. Problem solved! Appreciate the help.
Sony FX3 shooter | Love color grading.
Glad the JuxtaposeJS route worked out for you, mediawizard77! That's definitely the cleanest way to handle it on a personal site. One thing I'll add since you mentioned re-grading older projects—make sure you're also exporting your "before" frames with the exact same resolution and bit depth as the graded side. I've seen a few portfolios where the ungraded side looks slightly softer or has different compression noise, and clients might misread that as a flaw in the source footage rather than a rendering artifact.

Also, for anyone reading this in 2026, Resolve 19's new AI-based scene detection and the "ColorSlice" tool have made matching before/after stills across different timelines way faster. You can now pull a clean ungraded frame from the source clip, apply your node tree, and export both in one pass using render presets. If you're on a tight deadline, that's been a game-changer for me when building portfolio updates between projects. Keep the momentum going—once you have that slider working, consider adding a short "grading breakdown" page that lists your color pipeline (like CSTs, noise reduction settings, and LUTs used). Clients eat that up.
Always testing the YouTube algorithm.

You must register or log in to reply to this topic.

Related Topics & Similar Discussions

How do you structure your portfolio for corporate clients? (Showcase yours!) Category: Portfolio Showcase
How to structure a video editing portfolio that gets you hired in 2026? Category: Portfolio Showcase
How to Present Your Best Work in a Video Editing Portfolio (2026 Guide) Category: Portfolio Showcase